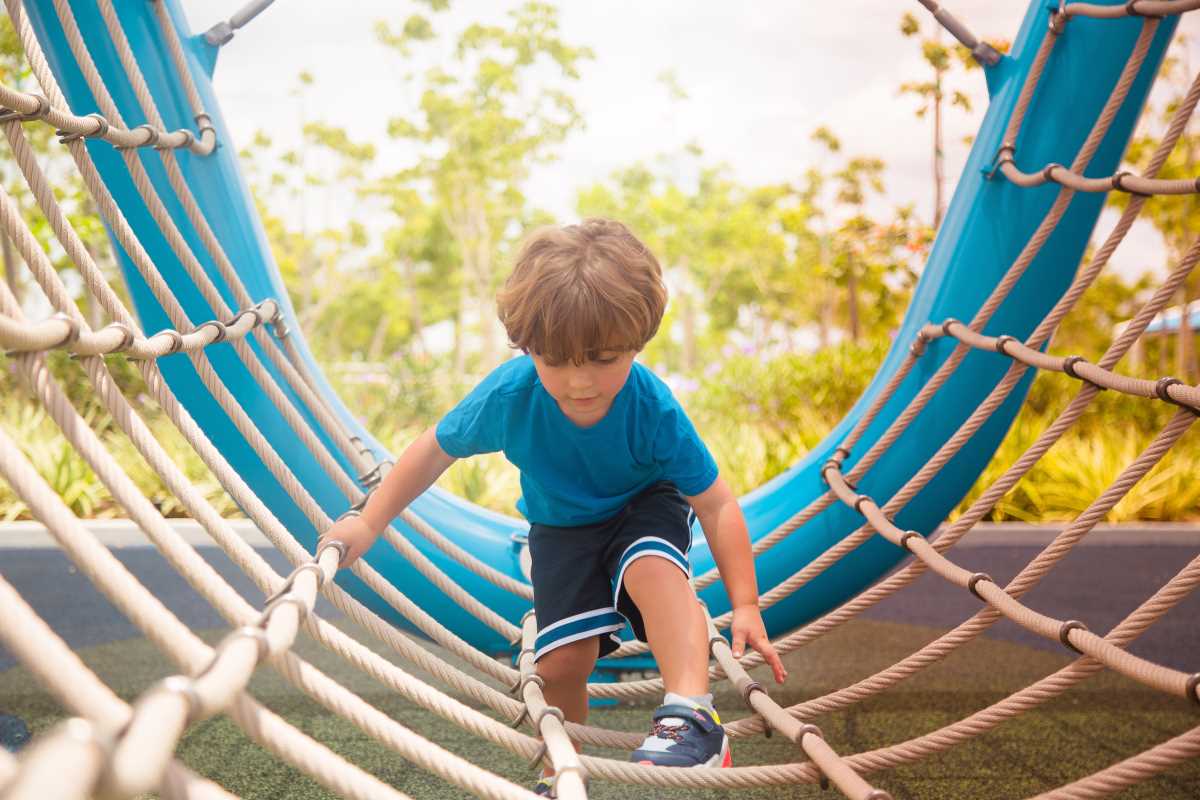
Why settle for a typical workout when you can turn your backyard into an adventure zone? A DIY obstacle course is the perfect way to blend creativity and fitness, whether you’re looking for an exciting solo challenge, family fun, or a group activity with friends. The best part? You don’t need fancy equipment or a sprawling yard to make it happen. With a bit of imagination and some everyday items, you can create a series of obstacles that test agility, strength, and endurance while bringing out your inner kid.
If you’re ready to get moving and transform your outdoor space into a playground for fitness and fun, follow these simple steps to design your own backyard obstacle course.
Why Obstacle Courses Are Fitness Gold
Before we jump into the how-to, here’s why obstacle courses are such a fantastic addition to your fitness routine (and your backyard):
- Full-Body Workout: Obstacle courses mix cardio, strength, balance, and flexibility, giving you an all-in-one workout. Jumping, climbing, crawling, and sprinting work different muscle groups in ways a treadmill just can’t.
- Scalability: You can make obstacles as easy or challenging as you want, meaning the course can grow with you as your fitness improves. Plus, it’s accessible for all ages and fitness levels.
- It’s Just Plain Fun: Exercise doesn’t have to feel like a chore. Solving challenges, racing against the clock, or simply playing alongside your kids makes the workout enjoyable.
Alright, it’s time to grab some supplies and get started!
Step 1: Plan Your Space
Whether you’ve got a lush yard, a simple patio, or even access to a driveway, your obstacle course can adapt to just about any space. Begin by mapping out your area, noting the layout and size. This will help you figure out how many obstacles you can include and how much space each one will need.
If you’re short on space, don’t worry! You can design a compact course with plenty of challenge by looping activities, stacking obstacles, or using vertical elements like ladders or fences.
Lay out stations in a zig-zag or circular pattern to make efficient use of smaller yards while keeping the flow of the course smooth.
Step 2: Gather Your Supplies
The beauty of a DIY course is that most of what you’ll need is likely already in your home. Everyday items double as brilliant fitness tools when you see them with fresh eyes. Here’s a starter list to get your creativity flowing:
- Cardboard Boxes: Use these as hurdles, tunnels, or platforms.
- Rope: Perfect for limbo bars, agility ladders, or a tug-of-war finish.
- Buckets or Cones: Set them up to create zig-zag running paths or goal markers.
- Chairs: Great for crawling under, leaping over, or balancing obstacles.
- Pool Noodles: Flexible and safe enough to be used as obstacles for jumping or weaving.
- Old Tires: If you’ve got some lying around, turn them into step-through stations.
- Hula Hoops: Use them for precision jumping or as targets for tossing balls or bean bags through.
- Sticks and Planks: Create balance beams or crawling barriers.
Bonus Supplies for Extra Flair:
Craft flags, rope lights, or spray paint to decorate and clearly define your course for added excitement.
Step 3: Design Your Obstacles
Now it’s time to get creative. Your obstacle course can include a mix of challenge types, from strength-focused activities to balance and coordination tests. Here are some fun obstacle ideas for different fitness levels and goals:
1. Agility Ladder
Lay down a rope, pool noodles, or sticks to create an improvised “ladder.” Practice quick, precise footwork by hopping, shuffling, or stepping through each “rung” without touching the lines.
2. Crawl Tunnel
Set chairs or tables closely together and cover them with a blanket or tarp to create a tunnel. Crawling underneath tests core strength while adding an adventurous vibe.
3. Tire or Hoop Hop
Place old tires or hula hoops on the ground and jump between them. Use single-leg hops for a more challenging take on this classic.
4. Balance Beam
Lay a sturdy plank or a thick pool noodle along the ground to create a balance challenge. Walk across without falling, and try it backward for an extra twist.
5. Target Throw
Set up buckets or hula hoops at varying distances and toss bean bags, balls, or even spare socks to test coordination and aim.
6. Jumping Wall or Hurdles
Stack cardboard boxes or use rope between stakes to create a hurdle. The goal? Jump as high or far as you can without knocking anything over!
7. Sprint Finish
Designate an open stretch for a final sprint or a relay batons pass for families racing together.
Step 4: Add Challenges and Fun
To keep things engaging, add extra layers to your obstacles. For example, time yourself to see how quickly you can complete the course, or challenge a friend or family member to a race. You can also include quirky rules, like having to crawl backward through the tunnel or balance an egg on a spoon across the balance beam.
If you’re setting this up as a family activity, consider tailoring some obstacles (like target throws or rope limbo) to your kids’ heights and abilities.
Step 5: Test and Adjust
Before calling your course complete, give it a test run! See how each obstacle flows into the next and adjust as needed for safety and fun. Does the crawl tunnel need more space? Does the balance beam feel steady enough? Tweaking things here and there will lead to a smoother experience.
Step 6: Enjoy the Fitness Fun!
Your obstacle course is now ready to go, and the fun is about to begin. Whether you’re timing yourself to break records, racing a squad of excited kids, or challenging your neighbors to join in, this backyard activity is bursting with possibilities.
Not only will this course bring joy and laughter, but it’ll also double as an effective workout for your core, arms, legs, and everything in between. Who knew exercise could feel this rewarding?
 (Image via


